

Decide what the week is for
Give the batch a clear purpose before opening your calendar. A creator teaching video production might use the week to answer a recurring question: how can someone record better interviews at home? Five different answers to that question give the week a thread without repeating the same post.
Use fewer clips if that is what you can prepare well. You do not need to fill every day. Gather the finished files, decide which audience each clip serves and check that you have the rights to publish the footage and audio.
A five-video plan you can adapt
Here is an example for the interview creator. The days are an editorial sequence, not recommended posting times or a promise of better reach. Choose times for your own audience and check them in the show’s timezone.
- 01
Monday: solve one familiar problem
Clip: why the guest sounds distant. Caption angle: explain one microphone placement mistake. Give the file a recognisable name, such as 01-microphone-distance.mp4. - 02
Tuesday: show the fix
Clip: demonstrate the microphone position. Caption angle: tell viewers what to listen for in the comparison. Keep the demonstration understandable without Monday’s post. - 03
Wednesday: answer a follow-up question
Clip: what to do in an echoey room. Caption angle: offer one practical change someone can try with what they already own. - 04
Thursday: show the process
Clip: a short look at the interview setup. Caption angle: explain why the camera, light and microphone are arranged that way. - 05
Friday: bring the advice together
Clip: a final recording checklist. Caption angle: recap the useful checks and point viewers to your full tutorial where the destination supports that link.
If you publish each clip to two accounts, review ten destination versions. Five source files do not mean there are only five captions, account selections or publishing results to check.
Upload the batch and build your campaign
- 01
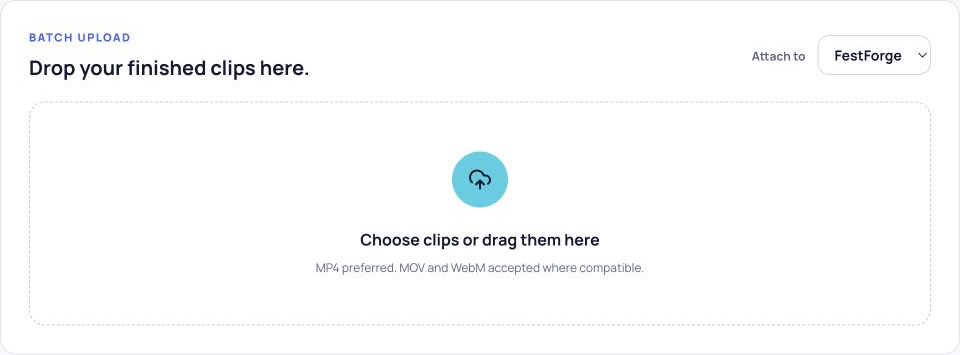
Upload the finished clips
Open Clips, choose your files and assign the correct show. Follow the bulk uploading guide and wait until each file is ready. Check individual upload failures before continuing; uploading the batch again can leave you with duplicates. - 02
Select the clips for this week
Create a campaign and choose the source clips for the plan. Check the actual footage, not just the filenames. Keep another client’s clips or next week’s material out of this campaign. - 03
Add context and choose destinations
Describe the subject, audience and purpose of the batch. Include names or terms the copy needs to get right. Select the connected accounts you intend to use and verify the destination for each platform. - 04
Prepare the platform versions
Write or generate the titles and captions, then edit each draft. Give every clip enough context to stand alone and check names, mentions and calls to action. AI campaign captions are written post copy; do not assume that generating them adds subtitles to your video.
Set the week’s dates and review the calendar
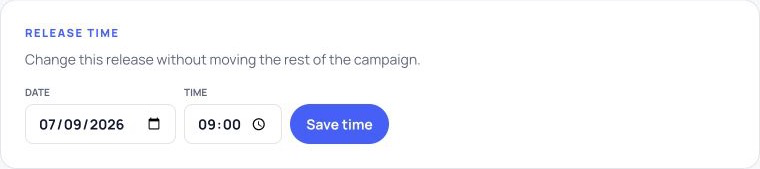
Choose the campaign start date and cadence, then inspect the resulting release times. For the example above, arrange the clips from Monday to Friday in the intended order. Set the time for each platform version and check the show’s timezone before approving anything.
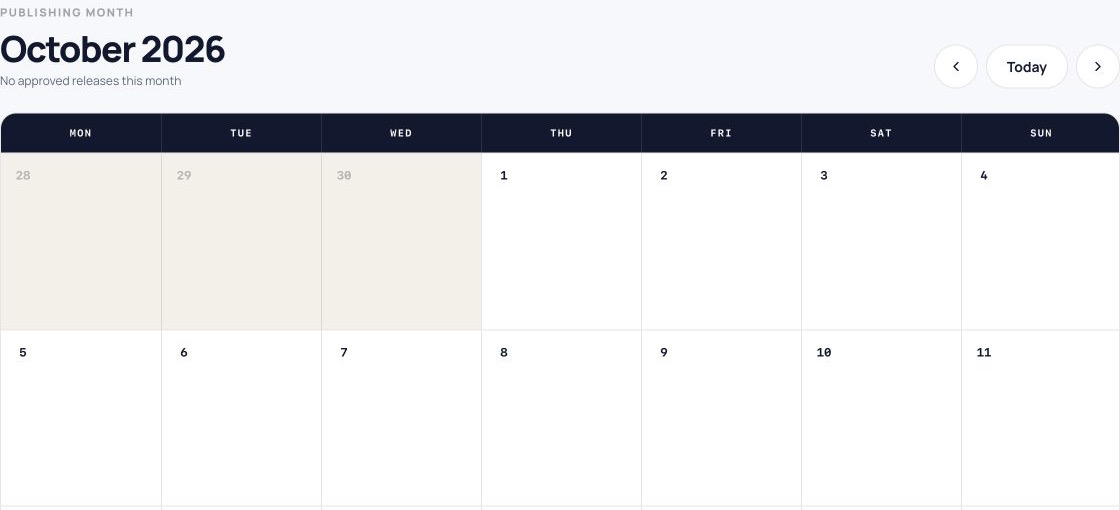
Check Calendar for existing approved releases before approving your campaign. Compare those slots with the draft schedule inside your campaign. Two individually sensible campaigns can still land on the same account at the same time. Move unpublished releases where needed, and check the final schedule again after an adjustment.
A suggested schedule is a draft. If the demonstration lands before the problem it explains, change the order. If a post refers to an event, check its date separately. The scheduling and calendar guide explains how timing and queue states fit together.
Approve only after checking each release
- The source video is the intended edit, with clear audio and readable on-screen text.
- The title, caption, mentions and cover match that video.
- The selected account belongs to the right show or client.
- The destination supports the video and publishing options you chose.
- The date, time and timezone match your weekly plan.
- The release does not clash with another scheduled post.
The screens you will use

Check delivery and plan the next batch
After a scheduled time has passed, open Queue and check the result for each destination. Queued or processing does not mean published. If one destination fails, read its error and resolve the cause before retrying that platform. Do not recreate the whole campaign when other destinations have already succeeded.
At the end of the week, use the metrics available in supported analytics and the social platforms themselves to review the posts. Note which topics prompted useful responses, which captions needed editing and whether the posting rhythm was manageable. A missing metric is not the same as zero engagement.
Use those observations to choose the next batch. Keep the useful parts of the workflow and change one meaningful part of the plan at a time, such as the topic mix or release spacing.
Start with your first batch
Account registration is coming soon. Join the waiting list and we'll let you know when you can create a workspace and prepare your first batch.
Working from an interview or episode? Follow the podcast clip scheduling guide for advice on choosing moments and giving each clip enough context.