

Start with clips you would stand behind
Choose clips that make sense without the full episode. Listen for missing context, unfinished answers and names that need explaining. Give each file a recognisable name so you can match the right moment to the right caption during review.
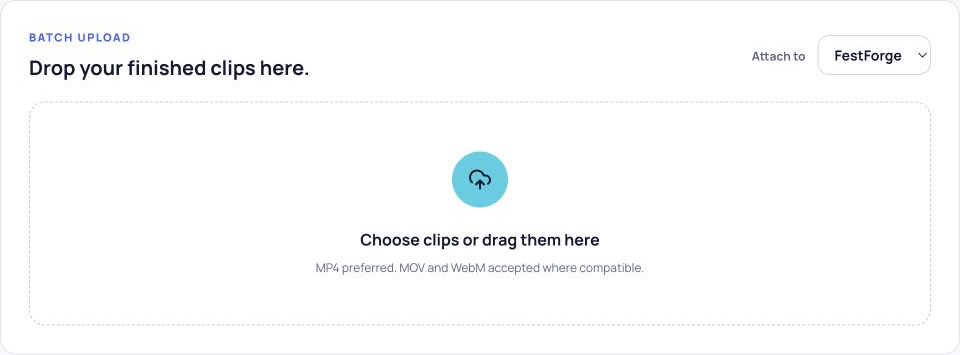
If you already have finished edits, use the Clips uploader. If you are starting with a full recording, use Auto Clips on an eligible plan, review the generated clips and then prepare the campaign. These are two different starting points for the same publishing workflow.
Build the campaign in six steps
- 01
Choose the show and upload the clips
Open Clips, select the show and upload the finished files together. Wait for each upload to finish and check that its source and thumbnail are ready before adding it to a campaign. - 02
Add the episode context
Create the campaign and choose its source clips. Explain the episode topic, audience and purpose. Include the names or terminology a caption needs to get right. Check the transcript before relying on generated copy. - 03
Select connected accounts
Choose the accounts you want to publish to. Check the actual destination, especially if your workspace contains more than one show, client or channel. You do not need to use every connected account for every clip. - 04
Write or generate platform copy
Prepare a draft for each destination. Give a video title enough context to stand on its own, and use the caption to explain why the moment is worth watching. Check guest names, mentions and calls to action. Generated text remains a draft until you review it. - 05
Set the start date and cadence
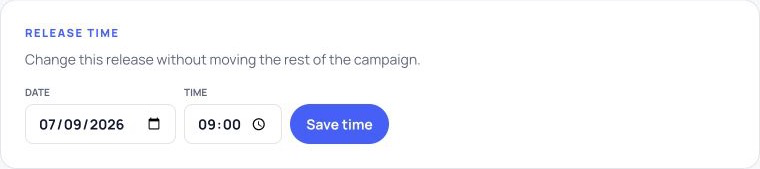
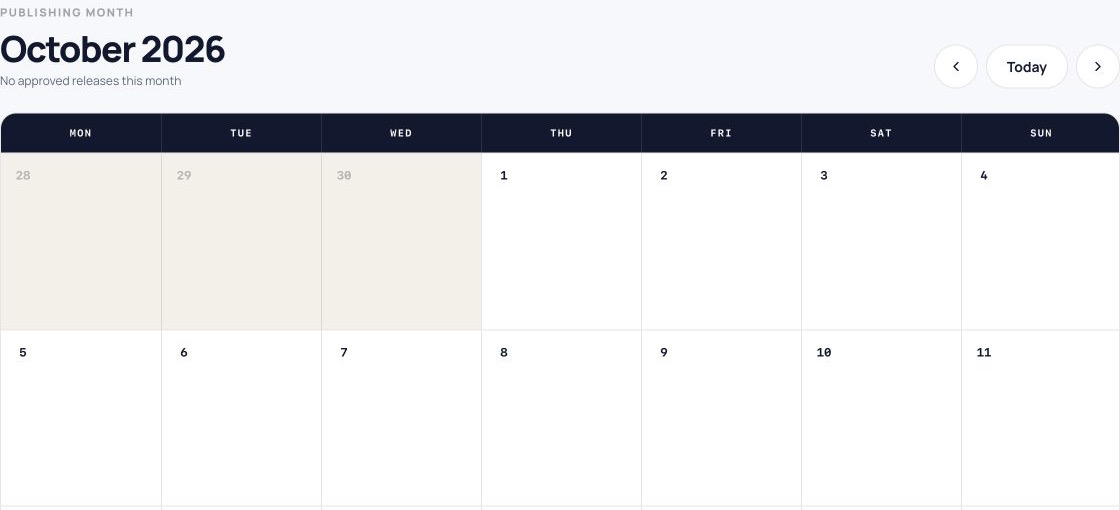
Choose when the campaign starts and how its releases are spaced. Review the resulting release schedule in the show's timezone. Calendar shows the releases after campaign approval. Adjust individual posts when a release clashes with another campaign or a date-specific announcement. - 06
Review every release and approve the campaign
Check the source clip, cover, caption, destination and scheduled time together. Review every release, then approve the campaign to add its platform jobs to the queue. Uploading a file or generating copy does not publish it.
Example: three clips from one interview
Suppose an interview gives you three useful moments: a common mistake, a practical demonstration and the guest’s closing advice. You might schedule the first on Monday, the demonstration on Wednesday and the advice on Friday. This is an example editorial plan, not a claim about the best days to post.
Use the first caption to explain the mistake. Give the demonstration a title that says what viewers will learn. Let the final caption introduce the guest’s advice and, where appropriate, point people towards the full episode. Check each platform version rather than repeating the same paragraph across all destinations.
Once you have publishing data, compare the response to those clips and use it to plan the next batch. Change one part of the plan at a time so you can understand what helped.
The screens you will use

Check delivery after the scheduled time
A scheduled post is not yet a published post. Open the Queue to check each platform job separately. If one destination fails, read the provider message before retrying. Other destinations may already have published successfully, so avoid recreating the whole campaign and posting duplicates.
Use supported analytics to review the response after publication. Metrics differ between platforms; a missing metric does not necessarily mean zero views or zero engagement.
Before you approve
- Each clip contains a complete, understandable moment.
- The selected account belongs to the intended show or client.
- Names, captions and mentions have been checked by a person.
- The cover represents the clip and meets the destination’s options.
- The date, time and timezone match your release plan.
- You know where to check the final publishing status.
Join the waiting list while account registration is closed, or continue with the scheduling and calendar guide.